Kitchen sprayer fittings play an important role in spraying water effectively. It helps in dish cleaning purposes and other tasks in no time. With the rise of top-notch kitchen and bath fitting manufacturers, people are incorporating kitchen sprayers to use water effectively.
No matter how pristine a sprayer you install, it can go bad and start leaking due to many underlying problems. In that case, it is best to have it replaced. To change things, you will have to block the main connection point of the kitchen faucet and the hole in the countertop.
So, how to cap a kitchen sprayer successfully? Well, below I will elaborate on this topic and highlight the step-by-step procedure to ease the burden from your shoulder.
What is a kitchen sprayer?
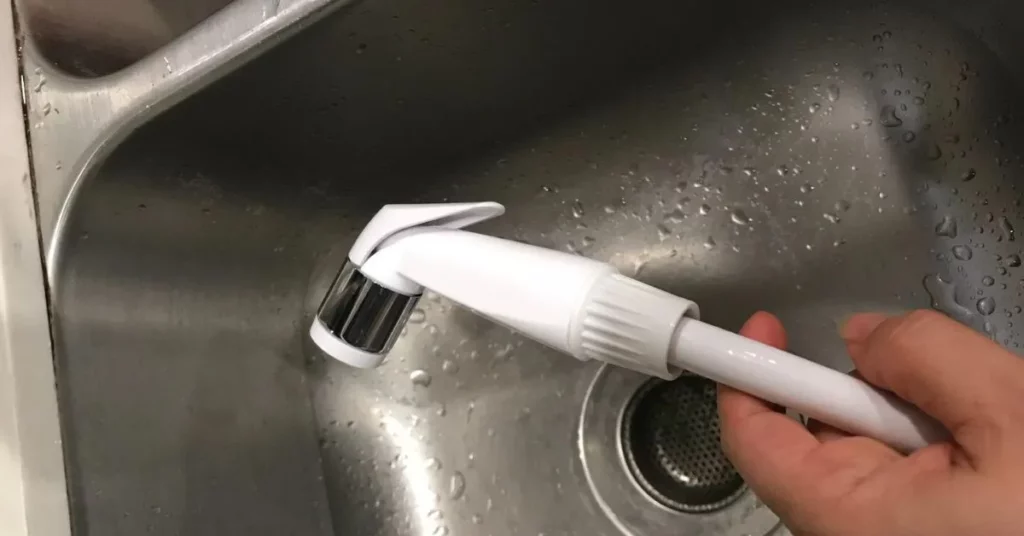
A kitchen sprayer also known as a faucet sprayer is an attachment that you can fix on your countertop. It has a trigger and nozzle that helps to flush out the water in your faucet line via a different spray head.
What are the benefits of using a kitchen sprayer?
Believe it or not, there are numerous benefits of using a sprayer along with your regular tap. Let’s check out some of the advantages.
Gives You Better Control Over The Water Stream
With a sprayer, you can get a better flow rate and maneuver the stream as you need it. Sprayers are designed to move, thus you can use them to reach critical spaces for spraying water.
Cleaning Made Easier
Regular faucets are designed to spray water in one direction, whereas faucet sprayers use flexible pipes and are portable. You can use the fast streams from a kitchen sprayer to wash tighter spots on the countertop.
Wash Fruits And Vegetables Without Hassle
You don’t have to place each fruit under the faucet opening. With a sprayer, you can just pick up the spray head and move along over each fruit item to spray wash them efficiently.

Why do you need to cap a kitchen sprayer?
Kitchen sprayers are not indestructible. They are prone to leakage, clogs, and breaks. When this happens it’s best to remove the faulty ones. This is why it is super important to cap a kitchen sprayer correctly. Doing so will make the reinstallation process as smooth as butter.
How To Cap A Kitchen Sprayer
Cutting off the line and capping a sprayer is not a cakewalk. It requires knowledge and skills. People might try to overwhelm your expertise by offering tons of techniques. I would suggest you steer clear of all complicated methods and follow the process given below.
Step 1: Gather The Necessary Equipment
- Pipe joint tape
- Pliers
- ⅜ inch threaded brass flare cap
- Sink hole cover
- Basin wrench
- Towel
Step 2: Switch Off The Supply
To start up, you first have to kill the water supply. Beneath the sink, you will find knobs that cut off the water flow. Then empty the water stored in the supply lines of the sprayer and faucet by pressing the sprayer trigger.
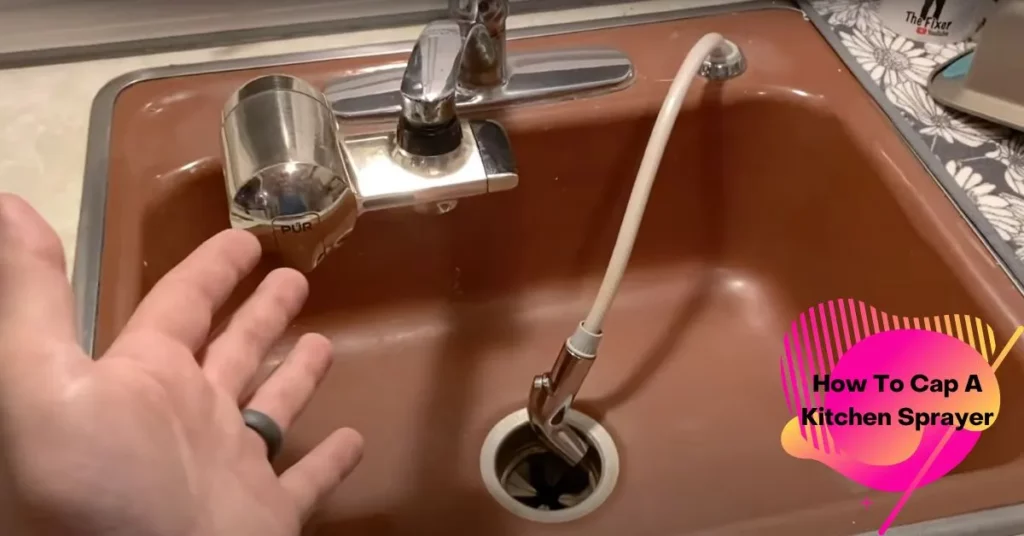
Step 3: Loosen The Sprayer
Now find the end of the sprayer hose and the other end where it connects to the faucet. Take the pliers and loosen the bolts on the sprayer that connects it to the faucet.
Step 4: Remove The Sprayer
After tweaking the bolts, the sprayer should come off. Take it out of the faucet and there should be a male thread exposed at one end.
Step 5: Prep The Threads
Now after you locate the threads, just wipe them with a towel. Get the pipe joint tape and cover the threads.
Step 6: Put On The Flare Cap
Get the ⅜ brass flare cap and attach it to the male threads. Take the plier again to make sure you tighten the cap properly.
Step 7: Loosen The Sprayer Support On The Countertop
Now you have to look under the sink and unwind the mounting nut that connects the sprayer support to the sink. A-Basin wrench can be helpful if you fail to reach the mounting nut.
Step 8: Remove The Support
Time to slide off the nut from the hose underneath the sink. Doing so should unfasten everything and can easily take off the sprayer and the sprayer support from the countertop.
Step 9: Insert The Cover
You will be left with a hole after removing the support. Use a sinkhole cover to block the hole. Hole covers can either be placed directly without attachments or some particular units might need mounting nuts to cement them. Once you’ve secured it into position, your capping procedure is done.
How to cap a kitchen sprayer with vinegar?
Spray nozzles are known to get jammed due to many issues. This can be countered and made anew using vinegar and water. What you can do is, unwind the cap and put it under hot water.
The ideal way to do this is to immerse the sprayer in the vinegar solution. Then use a pin to poke the blocked holes of the nozzle. This should successfully unblock a kitchen sprayer and make it work again.
Tips on using a kitchen sprayer
The kitchen sprayer is undoubtedly a versatile addition to your workspace. It gives you better control over the water flow. It fills your dishes faster and more importantly it is best for cleaning purposes.
There are different variants of sprayers out there and you must know which one suits your household needs. Below are some tips on the purpose of these sprayers.
- Pull Down Sprayers – If you aim to fill up tall pots, then this can work magic. The high arc design gives more clearance to your workspace. This type of sprayer is also suitable for deeper sinks.
- Pull-Out Sprayers – This sprayer has a longer hose that can be used to fill up pots on the counter. The low profile helps to fit into cramped countertops. If you want fewer splashes, then this can be a fine pick compared to pull-down sprayers.
- Side Spray Units – Side sprays are aesthetically pleasing. They can be fitted in all kinds of faucets and fill in the existing holes in the countertop. You have to keep in mind that these sprayers have less pressure compared to the two I mentioned above.
Final Words
If you value aesthetics with functionality in your kitchen sink, then there is nothing better than having a kitchen sprayer. This workable addition is there to make your task easier by giving you the upper hand to maneuver the water flow.
Owning a sprayer sounds fun, but it does tend to get jammed after extensive use. I recommend you change the sprayer if such a case persists. To do that with ease, you must know how to cap a kitchen sprayer beforehand and also seal the leftover hole after removing the sprayer.
This article explains all the necessary procedures for capping a sprayer. Be patient and follow the steps given above and you will soon end up with an active faucet.